
Onimusha: Way of the Sword Boss Guide — Strategies
Onimusha: Way of the Sword boss fights follow a readable pattern language: wind-ups to answer, phases to survive, and punish windows that reward everything the combat loop teaches. This page anchors the confirmed encounters, defines the strategy format, and explains the preparation that shortens any fight.
Quick answer
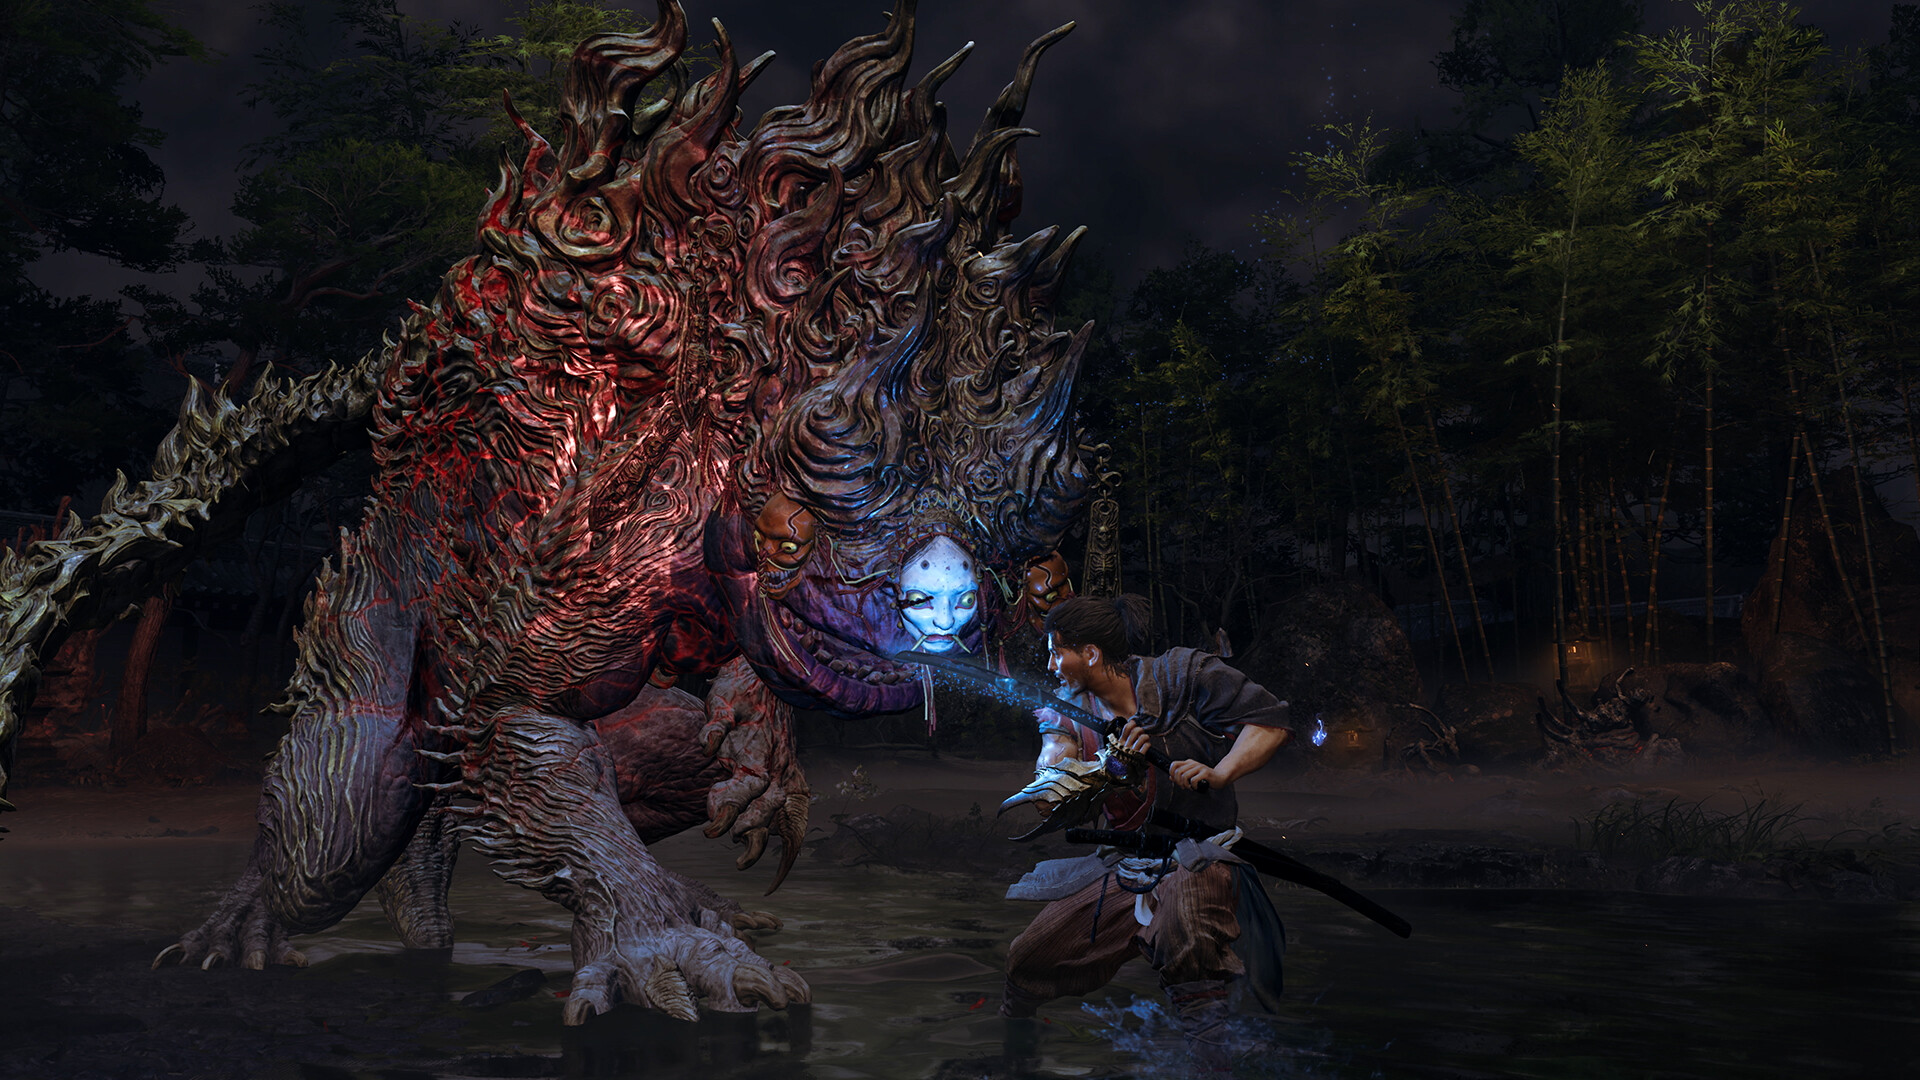
Two boss encounters are confirmed by official material: Sasaki Ganryu, the rival duel at Kiyomizu-dera playable in the demo, and Daidara, the towering Genma from the expanded demo who devours souls you have not absorbed. The retail build extends the roster beyond the demo, and this page grows one entry per encounter as each strategy is tested. Every entry keeps the same structure so a pattern learned in one fight transfers to the next.
Confirmed encounters so far

| Boss | Status | Confirmed trait |
|---|---|---|
| Sasaki Ganryu | Playable in the demo; present in the retail build | Presented as the formidable rival; a true one-on-one duel at Kiyomizu-dera |
| Daidara | Playable in the expanded demo | Towering Genma that devours souls Musashi has not absorbed |
The two demo encounters are deliberate teaching fights. Ganryu examines the defensive loop: deflect, parry, Issen. Daidara examines the economy: absorb or lose, because unabsorbed souls feed him instead of your arsenal.
How each boss entry is structured
A strategy worth publishing answers six questions in the same order every time: what attack patterns exist, how the phases divide, which counters close each pattern, where the Issen window sits, what preparation shortens the fight, and what the victory rewards. Answering those six questions from repeated attempts, with the build and difficulty recorded, is the standard a boss entry meets before it appears on this page.
Preparation that shortens any fight
Three habits cut boss attempts down regardless of the encounter. Absorb souls on the approach so healing and full Oni Armament charges enter the arena with you. Spend upgrade souls along one focused track rather than spreading them, because damage output is what shortens phases. And treat the first attempt as reconnaissance: surviving long enough to see phase two is information, and dying with full souls banked costs nothing.
The strategy format
Completed entries read like a pattern dictionary, not a highlight reel. Each attack gets its wind-up description, its safe answer, and its punish answer, because the same incoming swing accepts both a defensive and an aggressive reply depending on your confidence. Phase transitions get marked explicitly, since the moment a boss changes behavior is where attempts most often collapse. Rewards and route context close every entry, connecting the fight to the walkthrough it sits inside.
Step-by-step: approach any new boss
Step 1. First attempt, defend only. Deflect everything, absorb what you can, and map how many behaviors the boss shows before the phase changes. Damage output is irrelevant on attempt one; the pattern catalog is the goal.
Step 2. Second attempt, answer the two most common patterns: parry the wind-up you now know and apply the follow-up string. Add one Oni Armament spend per phase, not more, so the resource lasts.
Step 3. From attempt three, hunt the Issen window on the attack you answer most reliably. One mastered Issen per boss phase is usually the difference between a long fight and a short one.
FAQ
Which bosses are confirmed?
Sasaki Ganryu at Kiyomizu-dera and Daidara are confirmed through the official demo. The retail roster grows beyond them, and confirmed encounters publish here as their entries complete testing.
Is Ganryu beatable with deflect only?
Deflect keeps you alive, but the duel is designed to teach the parry-to-Issen step. Using deflect to learn the wind-ups and then tightening to parries is the intended path to a clean win.
What does Daidara teach?
Soul economy. He devours souls you leave on the floor, which turns every skipped absorption into a gift to the boss and makes the absorb-after-every-kill habit non-optional.
What should I bring to a boss fight?
Banked souls for healing, at least one Oni Armament charge per expected phase, and a single focused upgrade track. Preparation shortens attempts more reliably than any pattern memorization.
Do boss strategies differ by difficulty?
Patterns stay readable while pressure rises, which is why every tested entry records its difficulty. A counter verified on one setting is labeled with that setting until re-verified on others.
Related pages
- Onimusha: Way of the Sword Combat Guide — the parry, Issen, and Break Issen foundation every entry assumes.
- Onimusha: Way of the Sword Walkthrough — where each boss sits in the route.
- Onimusha: Way of the Sword Weapons — Oni Armaments and upgrade tracks for fight preparation.
- Shuten Doji — Boss Registry Record — the official registry record for a named Genma boss.
- Onimusha: Way of the Sword Demo — free practice for both confirmed encounters.
Boss format established against the retail build and demo checked on September 4, 2026 by the Onimusha: Way of the Sword Wiki Team.